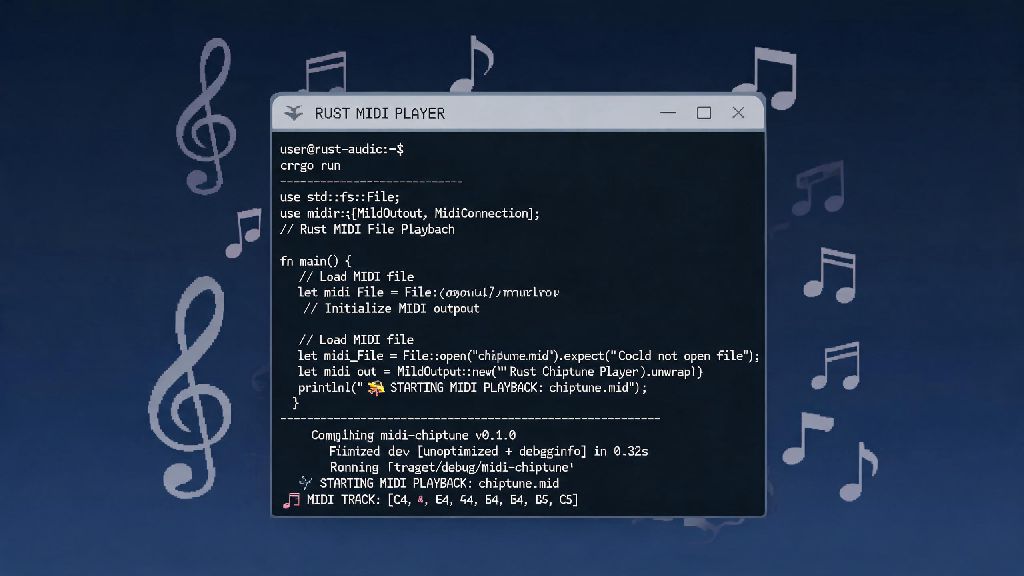
If you’ve ever wanted to build a custom audio player, retro game soundtrack engine, or interactive music tool in Rust, you’ve probably run into questions around handling MIDI files. Playback is one of the most common first steps for audio projects, and learning how to play MIDI in Rust is far simpler than many developers assume, even if you have no prior audio programming experience. I’ve built half a dozen small audio tools in Rust over the past three years, and I’ve tested almost every MIDI crate available to find the most reliable, low-fuss workflows. This guide skips overly complex academic explanations and walks you through exactly what you need to get MIDI files playing in your Rust project in under 30 minutes.
Prerequisites Before You Learn How to Play MIDI in Rust
You don’t need advanced audio engineering knowledge to get started, but there are a few basic things you’ll need in place first to avoid unnecessary headaches. Basic Rust toolchain installed is non-negotiable; make sure you’re running the latest stable version of Rust and Cargo to avoid dependency conflicts. You’ll also want a sample MIDI file for testing — pick a short, simple 2-4 track file with no weird custom events to make troubleshooting easier when you first start.
System audio dependencies are the most commonly missed step for new developers. If you’re on Windows or macOS, your system already has all the required audio libraries pre-installed, so you won’t need to download anything extra. System audio dependencies installed (Linux only) are required for most audio crates; on Debian-based distros you can install them with a single apt command for libasound2-dev, and other distros have equivalent packages in their repositories.
Choosing the Right Rust Crates for MIDI Playback
The Rust audio ecosystem has matured a lot in the past few years, so you have several solid crate options depending on your project goals. First, you’ll need a parsing crate to read the raw MIDI file data into usable events, and a playback stack to turn those events into audible audio. MIDI files only store event data like note on/off, tempo, and instrument selection, so you’ll also need a software synthesizer to turn those events into actual audio samples unless you’re sending output to external hardware.
There are three common stack options that cover almost all use cases:
midly is the most widely maintained MIDI parsing crate as of today, so I recommend starting with it no matter which stack you pick. It has no unsafe code, handles all common MIDI format variations, and is far more reliable than older unmaintained crates like rust-midi that haven’t been updated in over 5 years. If you’re building a tool for commercial use, stick to well-maintained crates with active contributors to avoid security risks or unexpected breakage.
Step-by-Step MIDI Playback Implementation
We’ll use the beginner-friendly stack for this walkthrough, since it requires the least custom code and works across all three major operating systems. First, add the required dependencies to your Cargo.toml file, making sure to pull the latest stable versions of each crate. Next, load your test MIDI file using standard Rust file system utilities, then pass the raw bytes to midly’s parse function to get a structured list of tracks and events.
You’ll need a general MIDI soundfont to use with fluidlite; you can find free, public domain soundfonts online that work for almost all standard MIDI files. Load the soundfont into fluidlite first before processing any MIDI events, so the synth has the instrument data it needs to generate audio. Next, iterate through the parsed MIDI events, paying close attention to delta times — these are the gaps between each event that control playback speed.
Convert delta times from ticks (the unit used in MIDI files) to milliseconds based on the file’s defined tempo, then add a matching delay between sending each event to the fluidlite synth. Render the audio output from the synth into a sample buffer, then pass that buffer to rodio for playback through your system’s default audio device. Always test with a simple 4-track MIDI file first before using complex multi-track files, as it will make it far easier to spot timing or instrument issues early on.
I wasted 3 hours once troubleshooting choppy playback on a project, only to realize I was converting delta times from ticks to milliseconds incorrectly. That’s the most common mistake new developers make with MIDI playback, so double check that calculation first if you run into audio issues. You don’t have to write your own delta time conversion logic either — midly has helper functions that handle the math for you if you don’t want to implement it manually.
Troubleshooting Common MIDI Playback Issues in Rust
Even if you follow every step perfectly, you’ll probably run into at least one small issue when you first test your playback. No audio output is the most common first problem; if you don’t hear anything, first check that your system audio isn’t muted and that you selected the right default output device. Linux users often run into this issue if they forgot to install the required ALSA dependencies, so double check that step if you’re on a Linux machine.
Choppy or distorted audio usually points to one of two issues: incorrect buffer size or bad event timing. If you’re on a low-powered device like a Raspberry Pi, increase the audio buffer size to give the synth more time to render samples before playback. Most playback issues are tied to incorrect event timing, not the crates themselves, so go back to your delta time conversion code if you hear audio that cuts out or plays in short bursts.
If your MIDI file plays with the wrong instruments, you’re probably missing program change events or using a non-general MIDI soundfont. Make sure you’re sending all program change events from the MIDI file to the synth, and use a standard general MIDI soundfont for testing before you switch to custom soundfonts. If playback is too fast or too slow, you’re probably hardcoding a BPM value instead of reading the tempo from the MIDI file itself — most MIDI files have tempo change events embedded, so you’ll need to update your timing calculation whenever you hit one of those events.
For interactive use cases like live MIDI input from a keyboard, you may run into latency issues with the rodio backend. If that’s the case, switch to the lower-level cpal crate for playback, as it gives you full control over buffer sizes and allows you to tune latency to match your needs. Most casual playback projects won’t need this level of control, but it’s a good option to keep in mind if you’re building a live performance tool.
Once you get the hang of basic playback, you can expand your project to add features like looping, track muting, or even support for custom soundfonts and effects. The Rust audio ecosystem is growing fast, and there are new crates being released every month that make complex audio tasks even simpler. Whether you’re building a custom MIDI player, a retro game soundtrack engine, or a full digital audio workstation, knowing how to play MIDI in Rust is a valuable skill that opens up a huge range of creative project possibilities. Start small, test each part of your implementation as you go, and don’t be afraid to experiment with different crate stacks to find what works best for your use case.