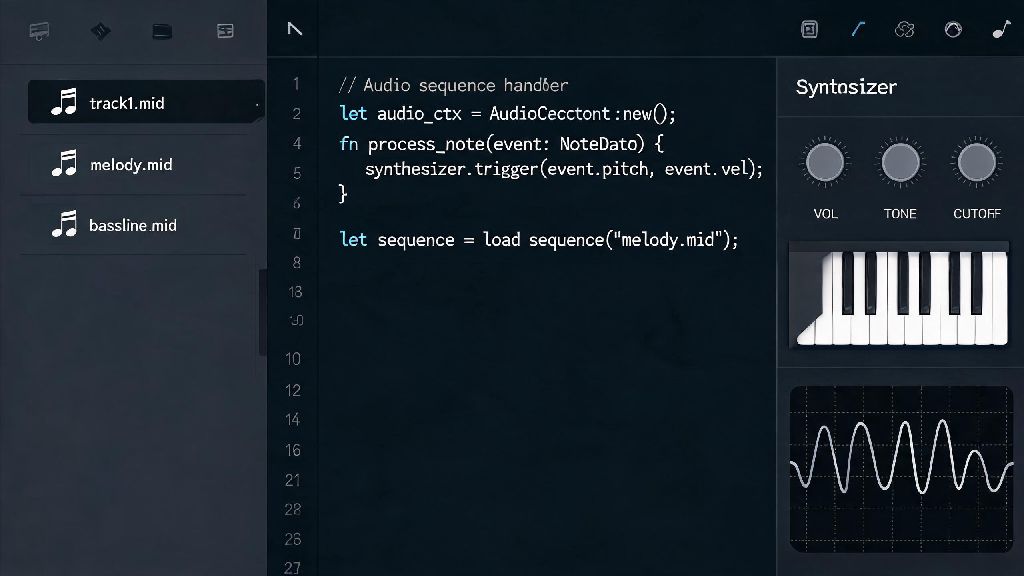
If you’re building a music app, custom game audio system, or just a fun side project that needs to play audio tracks, figuring out how to play MIDI in Rust can feel overwhelming at first, especially if you’re new to audio programming in the language. Rust’s low overhead and memory safety make it ideal for audio work, since you don’t have to worry about garbage collection pauses or unexpected crashes ruining playback. This guide walks you through every step of the process, from picking the right crates to writing working code, with no prior audio development experience required.
Core Tools You Need to Play MIDI in Rust
You don’t need fancy, expensive gear to get started with MIDI playback in Rust, but there are a few basic tools you should have set up before you write any code. First, make sure you have the latest stable version of Rust installed on your system, along with cargo for package management. Next, grab a simple, short General MIDI file to test with – a 4-track piano track works best, since complex orchestral files can make debugging much harder. You’ll also need either a hardware MIDI device or a software synthesizer installed on your system; most modern OSes have a built-in synth, but free options like VirtualMIDISynth for Windows or FluidSynth for Linux work great if your system doesn’t have one pre-installed. Always use crates with active maintenance for audio work to avoid running into unpatched bugs that cause glitches or total playback failure. If you’re planning to build a cross-platform app, test on your target OSes early, since MIDI support can vary slightly between Windows, Mac, and Linux.
Choosing the Right Crates for MIDI Playback
One of the biggest benefits of building MIDI tools in Rust is the huge ecosystem of well-maintained audio crates that handle all the low-level heavy lifting for you. You don’t have to write your own MIDI parser or I/O handler from scratch, unless you want to. There are two main types of crates you’ll need: ones that parse and handle MIDI data, and ones that handle output to your chosen synth or device. For parsing, midly is the most popular option, it’s lightweight, fast, and even supports no_std environments if you’re building for embedded hardware. Wmidi is another great option if you need to handle real-time MIDI input alongside playback. For output, you have two common choices: midir, a cross-platform MIDI I/O crate that works with both hardware and software synths, and fluid-x, a crate that bundles a full software synthesizer directly into your app. To pick the right crates for your project, consider these key factors:
I’ve used both midir and fluid-x for personal side projects, and I usually reach for midir first when building tools for other musicians, since most of them already have their own synths set up exactly how they like them. For apps built for general users, fluid-x is the better pick to avoid endless support tickets about missing MIDI devices or no sound errors.
Step-by-Step Working Code for Basic MIDI Playback
We’ll use midly and midir for this example, since it’s the most lightweight setup for most use cases. First, add the dependencies to your Cargo.toml file: midly = "0.5" and midir = "0.7". First, write code to parse your test MIDI file using midly – the crate’s documentation has a simple example that loads a file and extracts all track events, including delta times (the delay between each event) and MIDI messages like note on, note off, and program change. Next, use midir to list all available MIDI output devices on your system, and connect to the first one (or let the user select their preferred device if you’re building a UI). Then, create a playback loop that reads each event in order, waits for the delta time to pass using std::time::Instant, then sends the MIDI message to your connected output device. Always add small buffer delays between MIDI events to avoid sending all messages at once, which will play the entire track in a single distorted burst. Always pair note on events with corresponding note off events to prevent stuck notes that play indefinitely until you close the app – this is one of the most common mistakes new devs make when working with MIDI for the first time. If you run your code and get no sound, first check that your default MIDI synth is enabled and its volume is turned up, that’s the fix for 90% of first-run issues. You don’t need to add fancy error handling for your first test script, but make sure you add proper error handling for device connection and file parsing if you’re going to ship your app to users.
Common Troubleshooting Tips for Smooth MIDI Playback
Even if you follow all the steps exactly, you’ll probably run into a few issues when you first start working with MIDI in Rust, most of which have simple fixes. Latency is the most common complaint – if you notice a delay between when an event is supposed to play and when you actually hear it, try reducing the buffer size in your MIDI synth settings, or switch to a lower-latency audio backend like ASIO on Windows. Avoid using non-realtime safe operations like heap allocations, print statements, or file writes in your playback loop because they can cause unexpected jitter or audio dropouts, even if they only take a few milliseconds to run. If you hear weird, distorted sounds or missing notes, your MIDI file might use custom sysex messages that your synth doesn’t support – test with a standard General MIDI file first to rule out file compatibility issues. For Linux users, you might need to install the libasound2-dev package before midir will compile correctly, that’s a common gotcha that trips up even experienced Rust devs the first time they work with audio on Linux. If you’re building for web via WASM, midir has partial support, but you’ll get better compatibility using web-sys bindings for the native Web MIDI API. I’ve run into the Linux dependency issue more times than I can count, so I always add a note in my project READMEs for Linux users to install that package first, it saves hours of frustrated debugging.
Once you get the hang of the core tools and crates, figuring out how to play MIDI in Rust opens up a ton of fun project possibilities, from custom game audio engines to interactive music production tools to DIY synth hardware. Rust’s combination of low overhead and memory safety makes it a far better choice for audio work than many higher-level languages, since you don’t have to worry about garbage collection pauses or memory leaks ruining playback. Start small with a simple playback script, then experiment with adding real-time controls or custom effect processing as you get more comfortable. You’ll be building polished, high-performance audio apps in Rust before you know it.