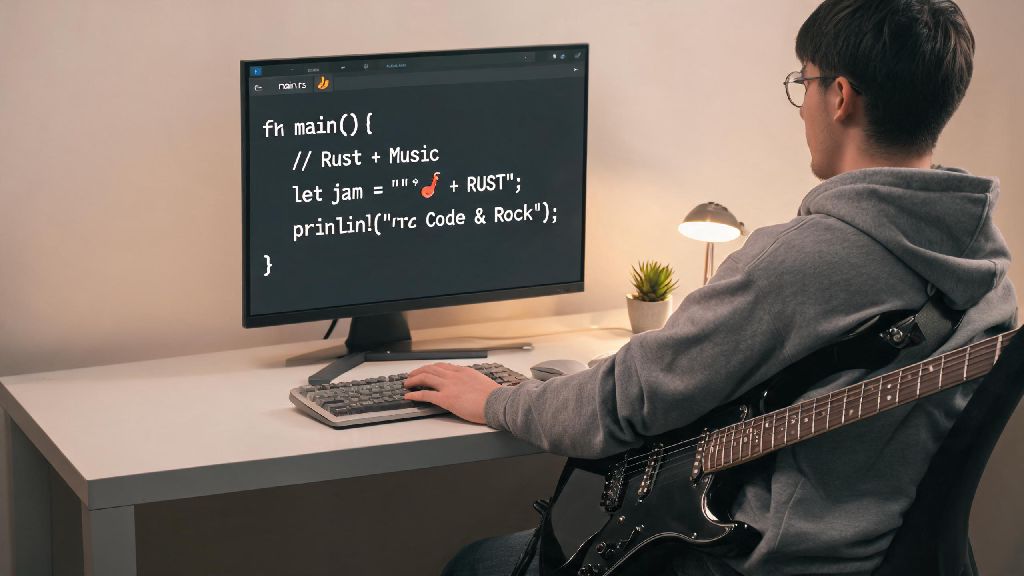
If you’ve ever wanted to combine your love of music and coding, learning how to play guitar on Rust is one of the most fun, rewarding side projects you can take on. Unlike higher-level languages that often suffer from audio latency or memory leaks, Rust’s strict memory safety and near-native performance make it ideal for building stable, responsive virtual instruments. You don’t need advanced music theory knowledge or years of Rust experience to pull this off, either—all you need is basic Rust syntax knowledge and a willingness to experiment with audio libraries.
What You Need Before You Learn How to Play Guitar on Rust
You don’t have to invest in expensive software or hardware to get this project off the ground. Most of the tools you’ll use are free, open source, and maintained by the active Rust audio community. Before you write your first line of code, make sure you have these core prerequisites covered:
If you’re working on Windows, you may need to install a separate ASIO audio driver to avoid latency issues, but most macOS and Linux distributions come with compatible audio frameworks out of the box. You also don’t need a physical guitar to complete this project, though having one nearby can help you compare tones and make sure your virtual version sounds accurate. Always test your audio levels before running your code for the first time—you don’t want to blow out your headphones with unexpected loud tones from uncalibrated audio output.
Setting Up Your Rust Audio Environment for Guitar Synthesis
The first step to building your guitar is choosing the right crates to handle low-level audio work. Writing audio processing code from scratch is possible, but it will take you weeks to debug driver compatibility and signal flow issues, so sticking to pre-built, well-maintained crates is the smart move for most developers. The two core crates we recommend for this project are cpal and fundsp.
Cpal is the most widely used cross-platform audio I/O crate for Rust. It handles all communication with your device’s audio drivers, and its public API has no unsafe code, which aligns perfectly with Rust’s safety guarantees. Fundsp is a modular audio synthesis crate that comes with pre-built wave generators, effects, and signal processing tools that are perfect for simulating guitar string sounds. If you prefer a simpler API for basic playback, you can swap fundsp for rodio, but fundsp gives you far more control over your guitar’s final tone.
Once you add these crates to your Cargo.toml file, run a quick cargo build to make sure all dependencies install correctly. If you run into installation errors, check the crate documentation for platform-specific setup steps—some Linux distributions require you to install separate ALSA development packages before audio crates will compile. Stick to stable, well-documented crates with active maintenance to avoid running into deprecated code halfway through your project.
Building Your First Playable Rust Guitar Function
The core of your virtual guitar is a function that converts note inputs to audio output. First, you’ll need to map standard guitar notes to their correct frequencies. For a standard-tuned guitar, the low E string is 82.41 Hz, A is 110 Hz, D is 146.83 Hz, G is 196 Hz, B is 246.94 Hz, and the high E is 329.63 Hz. You can store these frequencies in a const array or hash map for quick access during playback.
Next, build a function that takes a note input (you can start with hard-coded notes for testing, then add keyboard or MIDI support later) and generates a corresponding audio signal. Pure sine waves sound too synthetic for a guitar, so use a sawtooth or square wave with a low-pass filter to mimic the warm, rich tone of a plucked guitar string. Add a short attack and slow decay envelope to the signal to make it sound like a real string being plucked and fading out naturally.
To strum chords, play each note in the chord 10 to 30 milliseconds apart instead of triggering them all at once. This small delay mimics the sound of a human hand strumming across guitar strings, rather than the artificial sound of all notes activating simultaneously. Test each note individually as you build your function to catch frequency mapping errors early, instead of debugging a full chord later. If you notice lag between triggering a note and hearing the sound, reduce your audio buffer size—Rust is fast enough to handle buffer sizes as low as 64 samples on most modern computers, which gives you near-real-time response.
Tips to Improve Your Rust Guitar’s Sound and Performance
Once you have a basic playable guitar, you can tweak it to sound more realistic and run more efficiently. The most common issue new developers run into with audio Rust projects is crackling or dropped frames, which almost always comes from unexpected memory allocations inside the audio render loop. Rust’s ownership model makes it easy to pre-allocate all your buffers and variables before the loop starts, so you don’t have runtime delays that interrupt audio playback.
You can add effects like reverb, chorus, or distortion to make your guitar sound more professional. Fundsp has pre-built effect nodes you can add to your signal chain with just a few lines of code, so you can create everything from clean acoustic guitar tones to heavy distorted electric guitar riffs without writing custom effect code. If you plan to play full 6-string chords, make sure you mix your audio signals correctly to avoid clipping—clipping happens when the combined volume of multiple notes exceeds the maximum audio threshold, leading to harsh, unpleasant distortion. Use a limiter on your master output to prevent clipping even when playing loud, full chords.
If you want to make your guitar more flexible, add support for alternate tunings by creating separate frequency arrays for drop D, open G, and other common guitar tunings. You can also add a velocity feature that changes the volume and tone of a note based on how hard a key or MIDI controller is pressed, to mimic the dynamic range of a real guitar. Save different tone presets as separate structs so you can easily switch between acoustic, jazz, and heavy metal guitar tones with a single function call. You’ll be surprised how little CPU your Rust guitar uses—even with 10 simultaneous notes and multiple effects, it rarely uses more than 2% of a modern CPU, which is a huge improvement over higher-level language alternatives that often struggle with 5 or 6 simultaneous notes.
Building and learning how to play guitar on Rust is a great way to practice your Rust skills while creating something you can actually use and share with others. You can extend this project as much as you want, from adding a GUI interface to control your guitar settings, to adding support for MIDI foot pedals, to even recording your own riffs directly from the program. Even if you don’t have any prior audio development experience, this project is approachable enough for beginners, and it’s a great way to explore Rust’s real-world use cases outside of web development or systems programming. Don’t be afraid to experiment with different tones and effects—half the fun of this project is coming up with a unique guitar sound that’s entirely your own.