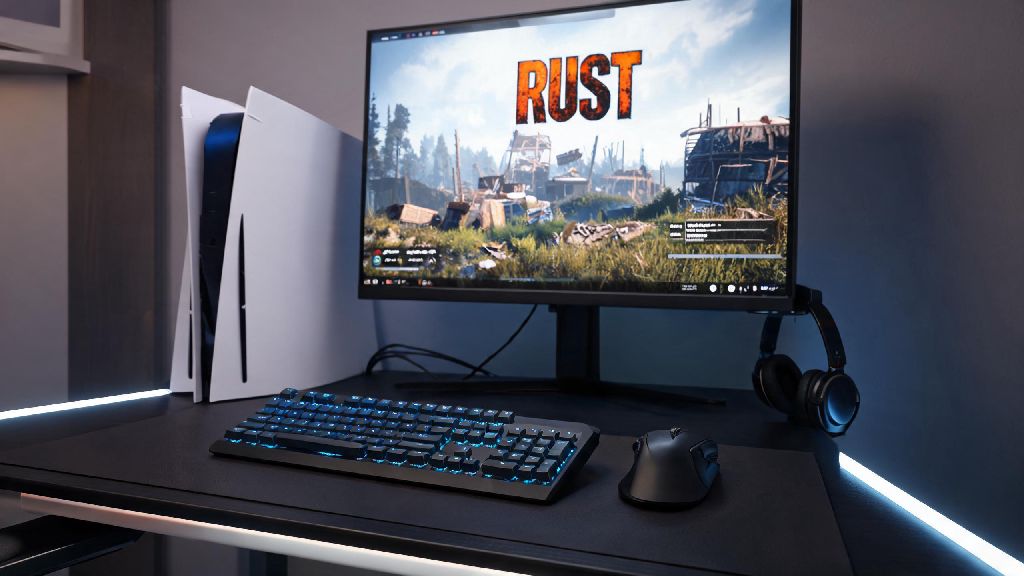
If you’ve spent any time grinding Rust console matches, you’ve probably run into players who seem to react faster, aim more precisely, and build way quicker than anyone using a standard controller could. A lot of the time, that’s not just skill—they’re using a keyboard and mouse. For years, KBM support on console Rust felt like a hidden hack only pro players knew about, but it’s actually fully supported on most modern consoles, as long as you set it up correctly. We’ll walk you through exactly how to play Rust console with keyboard and mouse, from picking the right gear to fixing annoying issues that can tank your gameplay.
Supported Hardware for Using KBM on Rust Console
First, you don’t need any fancy, overpriced third-party adapters to make KBM work for Rust console, contrary to what some online sellers might claim. Most PlayStation 5, PlayStation 4, Xbox Series X/S, and Xbox One consoles natively support wired and wireless keyboards and mice, as long as they’re compatible with your console’s operating system. That means you don’t have to risk a ban for using unauthorized peripherals, which is a huge relief for players worried about losing their progress. But there are a few caveats you need to know before you plug any random KBM into your console.
For PlayStation users, you can check if your KBM is compatible by plugging it into the USB port on your console and navigating to Settings > Accessories to see if it shows up. Xbox users can do the same by going to Settings > Devices & connections > Accessories. If your console recognizes the peripherals right away, they’ll work for Rust console with no extra steps.
How to Play Rust Console with Keyboard and Mouse: Full Step-by-Step Setup
Once you have your compatible KBM set, getting it working for Rust console only takes a few minutes, no extra software or downloads required. Start by plugging your keyboard and mouse into open USB ports on your console, or pair them via Bluetooth if you’re using wireless models. Make sure your console is fully updated before you start, because older system software versions may have limited KBM support for third-party games like Rust.
Next, launch Rust console like you normally would, and wait for the main menu to load. The game will automatically detect your KBM peripherals within 10 to 15 seconds, and you’ll see a small pop-up in the corner of the screen confirming that KBM input is enabled. You don’t have to toggle any hidden settings in the game’s main menu to turn it on, which is a nice touch for new users.
If you want to double check, you can navigate to the Controls tab in the in-game settings, and you’ll see separate options for controller and KBM binds once the peripherals are detected. From there, you can adjust key binds to match what you’re used to if you play Rust on PC, or stick with the default binds that are optimized for console play. We recommend testing your binds in a private server first before jumping into a public match, so you don’t accidentally hit the wrong key and open your inventory mid-fight.
Critical Settings Tweaks to Eliminate Input Lag and Improve Performance
Just plugging in a KBM won’t automatically give you the same snappy performance you get on PC, though. There are a few small tweaks you can make to both your console and in-game settings to cut down on input lag and make your movements feel as responsive as possible. First, go to your console’s display settings and make sure you have game mode enabled on your TV or monitor first, before you adjust any in-game settings. Game mode disables unnecessary post-processing effects that add tens of milliseconds of input lag, which makes a huge difference in fast-paced PvP fights.
Then, in Rust’s in-game settings, turn off motion blur and depth of field entirely. These effects look nice for cinematic gameplay, but they make it harder to track moving enemies and add small amounts of input lag that can throw off your aim. For mouse sensitivity, start with the default 50% sensitivity and adjust it up or down by 5% increments after every match until you find a setting that feels comfortable. Most pro KBM console Rust players use a sensitivity between 35% and 55%, but there’s no “right” setting—it all depends on your play style and mouse DPI.
If you’re used to playing FPS games on PC with a specific DPI, you can adjust your mouse’s physical DPI button if it has one, instead of adjusting the in-game sensitivity, to get a feel that’s identical to what you’re used to. Just don’t turn sensitivity up too high, because that will make small, precise aim adjustments almost impossible when you’re trying to land long-range headshots with a bolt action rifle.
Common KBM Issues on Rust Console and How to Fix Them
Even if you follow all the setup steps perfectly, you might run into a few common issues when using KBM on Rust console. The most common one is random input drops, where your mouse or keyboard stops working for 1 to 2 seconds mid-game. That’s almost always caused by a loose USB connection, or a low battery if you’re using a wireless KBM set. If you’re using wired peripherals, try switching to a different USB port on your console, because some ports have slower data transfer speeds than others. If you’re using wireless, make sure your peripherals are fully charged and you’re no more than 10 feet away from your console to avoid Bluetooth interference.
Another common issue is mismatched key binds, where some keys don’t do what you expect them to. That’s usually because the game is still set to use controller binds by default, even if it detected your KBM. To fix that, go to the Controls tab in settings and select the “Keyboard and Mouse” preset from the drop-down menu at the top of the screen. That will reset all binds to the default KBM settings, and you can adjust them from there.
A lot of new KBM users also worry about getting banned for using KBM against controller players, but rest assured that Facepunch, the developer of Rust, explicitly allows KBM input on console versions of the game. The only time you’ll get banned is if you’re using a KBM adapter that gives you aim assist, or using macros to auto-build or auto-fire. As long as you’re using a standard, unmodified KBM set, you have nothing to worry about.
At the end of the day, switching to KBM is one of the easiest ways to up your Rust console gameplay without spending hundreds of dollars on upgrades or spending months practicing controller aim. It takes a little bit of time to get used to the new controls if you’ve only ever played with a controller before, but most players adjust fully after 10 to 15 hours of gameplay. Once you get the hang of it, you’ll be able to build faster, aim more precisely, and compete with the top players in every lobby you join. Whether you’re a casual player who just wants to have an easier time defending their base, or a competitive player looking to climb the ranks, learning how to play Rust console with keyboard and mouse is a game-changer that’s well worth the small time investment to set up.